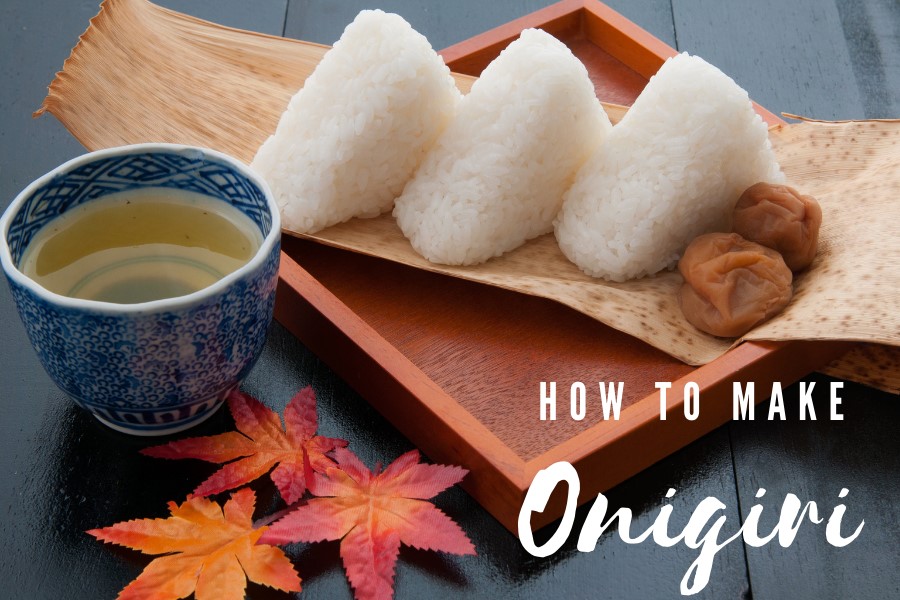
Need something healthy and light to eat every day? Try the delicious Japanese rice balls that are famously known as Onigiri. These easy to make snacks are so nourishing that you can include them in your diet. In Japan, onigiri is easily available at restaurants and shops. However, if you want to relish the genuine Japanese rice balls, make them yourself. Find out how the culinarian makes his secret onigiri recipe right here.
What is Onigiri?
Onigiri- the famous and delicious delicacy of Japanese cuisine has so many other names. In Japanese, it is known as Nigirimeshi or Omusubi, whereas outside Japan, it is called Musubi. It’s a simple recipe that comprises a rice cake stuffed with various fillings. Onigiri is either shaped as balls, triangular cones or cylindrical rolls. Moreover, these Japanese rice balls are often wrapped with seaweed Nori. You can serve onigiri with tuna mayo dips, pickled plums, and bonito flakes, which add to its taste and appeal.
Onigiri and Sushi are Different
The ingredients of both onigiri and sushi include steamed rice, fish fillings, and seaweed wraps. A major difference lies in the fact that Japanese rice balls are made from only steamed rice seasoned with kosher salt. In contrast, sushi rolls use vinegared rice to stuff raw fish. Vinegar helps to increase the shelf life of steamed rice.
The Main Components in An Onigiri Recipe
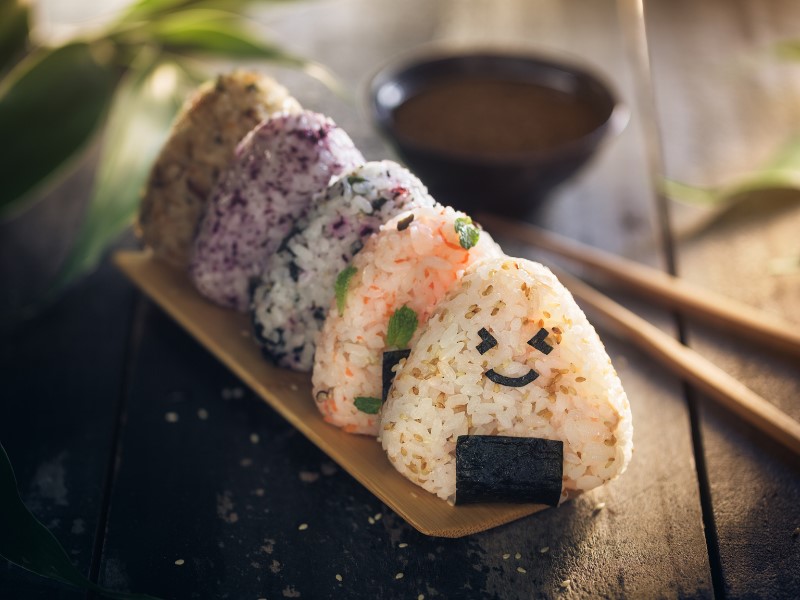
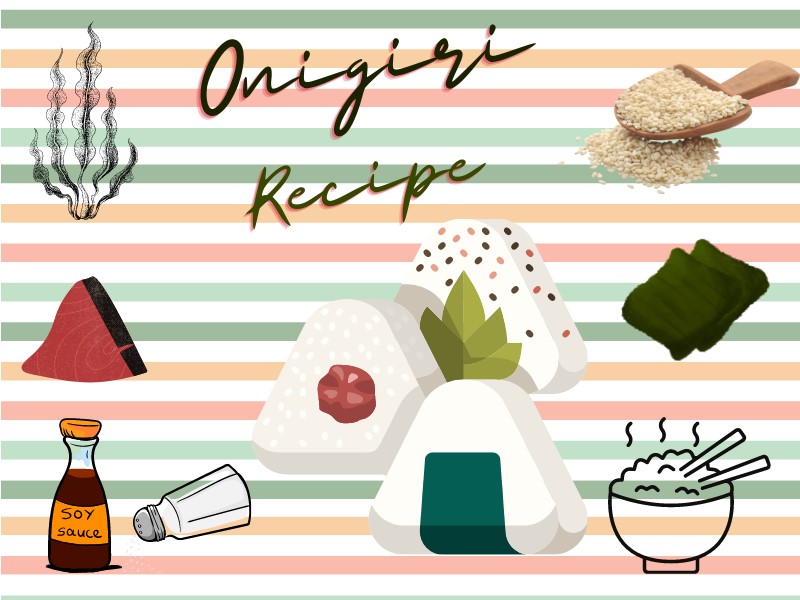
Though onigiri is a fancy dish of Japanese cuisine, it’s so easy to make and comprises few ingredients. All you need is some steamed rice, furikake seasoning, and nori wraps. Moreover, you can highly customize the Onigiri fillings to make a variety of healthy snacks.In a nutshell, varying the fillings help you enjoy different tastes everyday.
Steamed Rice
First of all, cook some slightly slimy, sticky, yet medium-firm short grain rice. You can use both short grain and medium grain rice that are easy to shape in a cake. In addition, famous Chefs recommend using Koshihikari, Japanese short grain rice. The grain length, translucency, and texture is all perfect to make genuine Japanese rice balls. Nevertheless, you can opt for any best brand that is available in your region.
Furikake
Furikake is the traditional Japanese seasoning that is a blend of beautiful aromatic and flavorful ingredients. Originally, it contained dried bonito flakes, sesame seeds, seaweed, salt, pepper, egg, other herbs and spices. Besides making fresh furikake seasoning, you can use the ready made packets. Commercially, furikake seasoning packets are available with different ingredients and flavors. You can find them in most Asian markets. Nevertheless, Chefs and culinarias recommend making fresh furikake seasoning for delicious and aromatic onigiri.
Nori
Nori is a dried, flat and edible seaweed that is not an essential component of Japanese rice balls. Even though nori is a good way to hold onigiri. Furthermore, it gives soft rice balls a crunchy texture as well as a savory taste. You can buy nori sheets easily from any supermarket and use them right away.
Pro Tips to Make Perfect Japanese Rice Balls
Cook Fresh to Taste Well
When making Japanese rice balls, freshly cooked rice is the best. It is because the rice is slightly slimy, sticky, soft, and warm. By applying little pressure, the short grains get compact and make a firm shape. Moreover, freshly steamed rice tastes even better. Therefore, cook fresh to eat better. Another great tip for perfect presentation is cooking rice until it is moderately firm and shaped, yet soft.
Wetting Hands
It’s essential to wet your hands before you begin making Japanese rice balls. Wetting is necessary so that the rice does not stick and smash to your palm while applying pressure and shaping.
Rubbing Salt
Salt rubbing technique has been practiced in Japan for ages. It requires you to spread the salt on the rice ball evenly. The major purpose of this pro tip is to prolong the shelf life of rice. In short, salt is used as a preservative for steamed rice in onigiri recipes.
Don’t Squeeze the Rice Grains
To make onigiri, apply moderate pressure to the soft and short grains of rice and shape them up firmly. Put a sufficient amount of pressure on the rice to prevent it from falling off or getting smashed. Moreover, the rice grains should retain their shape even when molded to a circle, square or triangle since it’s crucial to work on presentation.
Keeping ‘Em Moist
If you have a couple of hours before serving onigiri then, cover them to keep moistened. For this purpose, you can use a plastic sheet or a damp kitchen towel to cover the plate. Additionally, if you don’t plan on eating onigiri until tomorrow, you should keep them in the refrigerator in an airtight container.
The Culinarian’s Secret Onigiri Recipe
Ingredients Required For Onigiri Recipe
Ingredients for Japanese Rice Balls
| Japanese short grain rice | 2 cups |
| Water | 2 and half cups |
Ingredients for Japanese Rice Cakes
| Nori | 4 sheets |
| Kosher salt/ sea salt/ table salt | 1 tablespoon or to taste |
| Salted salmon | 1 fillet |
| Dried Bonito Flakes | ⅔ cup |
| Tuna | 1 can |
| Kombu | 1 packet |
| Mayonnaise | 2 tablespoon |
| Soy sauce | 2 and ½ tablespoon |
| Umeboshi (pickled plum) | 3 |
| Sesame seeds (white and black) | As needed (for garnishing) |
Ingredients for Onigiri Filling
| Salted Salmon | Salmon | 1 fillet |
| Sea salt | ½ tablespoon |
| Okaka | Katsuobushi (dried bonito flakes) | ⅔ cup |
| Soy sauce | 2 tablespoon |
| Tuna Mayo | Canned tuna | 1 |
| Mayonnaise (Japanese mayo) | 2 tablespoon | |
| Soy sauce | ½ tablespoon |
Step-byStep Method to Make Onigiri Like A Pro
1. Gather and Measure
Gather and measure all ingredients accurately. This first step before cooking any delicacy is not to be missed. Especially, if you want hassle and mess free cooking.
2. Steam Onigiri Rice
To make delectable onigiri rice balls, cook the japanese short grain rice fresh. It is because freshly steamed rice will assemble into beautiful rice cakes of any shape. Furthermore, freshly cooked rice tastes better than pre cooked dry rice.
a. Wash and Rinse
Before you cook rice, wash them thoroughly. Put the rice in a large bowl and wash them under the running water. While washing, move your fingers in circular direction to remove any dust or stone trapped between grains. Rinse the rice for about 3-4 times before soaking them.
b. Soak
Take a large bowl and put all the washed rice. Soak them up for about an hour to help them get soft and cook fast. Moreover, soaking removes excess starch and rice tastes better. Aftering soaking, drain the rice properly off the starchy water. For this purpose, put the rice in a sieve above a large bowl that will collect starchy water. Allow draining to take place for at least 15 minutes.
c. Boil
Take a large pot. You can choose an instant pot, rice cooker or any saucepan with a heavy base. Such a utensil will help conduction of heat evenly. Moreover, the lid of the pan should tightly fit into the circumference of the pan to avoid escape of steam. Now, add rice and water according to the above measurement and let the water boil over medium flame with a closed lid. One you see water boiling, lower the flame and boil the rice for about 12 minutes or till you see no water.
d. Steam
After your onigiri rice is boiled, turn off the flame and remove the pot from the stove. Keep the lid on and let the rice steam for an additional 10 minutes. Briefly, if you want to cook perfect onigiri rice like a Chef then, follow the above tips and timing sequence.
e. Cool
Pour out the rice in a large dish, wooden hangiri, or plate lined with butter paper to avoid rice sticking. Use a rice paddle and turn the rice to help them cool and fluff. In short, cooling the freshly cooked onigiri rice is essential to prevent burning your hands.
3. Make Onigiri Fillings
To save your time and work efficiently, you can begin making onigiri fillings when the rice is soaked. Try different and delicious onigiri filling ideas to enhance the appetite, flavor, and aroma.
a. Salted salmon onigiri filling
Take freshly cut and washed salmon fillets. Sprinkle both sides of fillets with your favorite salt as per taste. Then, bake, grill, or toast them at about 200 degree celsius for about 20 minutes or till done. The final results should be flaky and crunchy on the outside and juicy inside. Shred the salmon fillets to flakes, salted salmon onigiri filling is ready.
b. Umeboshi onigiri filling
Simply deseed Japanese pickled plums and keep the flesh only. You can use plastic wrap and bamboo skewers to aid in the deseeding process. Fresh umeboshi onigiri filling is ready.
c. Okaka onigiri filling
Take a small bowl and add the measured amount of Katsuobushi. Then, add soy sauce in it and mix to combine well. Make sure to add enough soy sauce to moisten the dried bonito flakes and not overdrench. Okaka onigiri filling is ready.
d. Tuna mayo onigiri filling
Drain the canned tune off the juice and put tuna flakes in a small bowl. Add Japanese mayonnaise and soy sauce according to the above measurements. Mix to combine well, mayo tuna onigiri filling is ready in just seconds.
e. Seasoned kombu onigiri filling
Simply unpackage the market-bought seasoned kombu and put it aside.
4. How to make rice balls?
Cut the nori seaweed sheet into the dimensions you want to wrap the rice balls in. Now follow either of the two following methods to make rice balls.
a. Traditional Method
Firstly, wet your hands with water to avoid rice sticking and smashing. Then, rub some salt in the palms of your hand evenly. Do not use excess salt or else your rice will become too salty. Here, the purpose of using salt is to preserve the onigiri rice for a long time. The best way is to use sea salt/ kosher salt as it is less salty than the table salt.
Then, scoop out approximately ⅓ cup of rice in your hand. Press in the middle of rice and create a well. Add 1 to 2 tablespoons of your desired and already prepared onigiri filling. Then, roll the rice with your palms from the side and hide the filling. Apply gentle pressure with your fingers and mold the slightly sticky rice into your desired shape.
Make sure not to apply too much pressure or else you will squeeze out the filling and smash the rice grains. Finally, wrap the beautifully shaped Japanese rice balls in nori sheets. You can also put some onigiri filling on the top to identify various onigiri fillings and seasonings.
b. Modern no-touch method
The modern No-touch method does not involve using hands to make rice balls. This alternative method of onigiri recipe uses a rice bowl, plastic sheet, and a rice scooper. For this purpose, first spread the cling film sheet in the bottom of a small rice bowl and scoop out some rice. Spread the rice evenly and add your favorite onigiri fillings in the centre. Then, wrap up the plastic sheet from the sides and twist the top to make a perfect shape. You can make perfect spheres or triangles with this method easily.
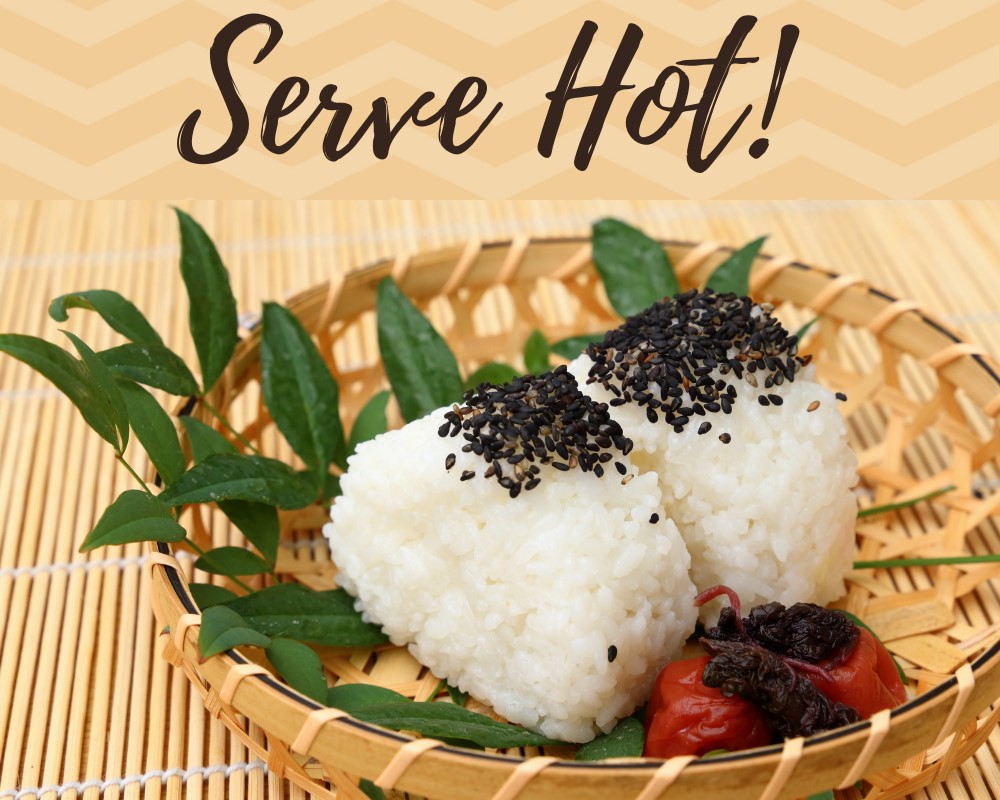
5. Serve and Moist
Seve the onigiri until it is warm and moist. Avoid drying and hardening of rice before you serve them. For this purpose keep the rice balls covered. See the FAQs section to know more about storing cooked onigiri.
Onigiri Filling Ideas
Previously, there were many unique onigiri fillings that people used to stuff steamed rice. But nowadays, any leftover meal serves as an exciting filling of the rice balls. For instance, chicken karaage, chicken tatsuta age, and shrimp tempura. The traditional and popular onigiri fillings are below:
- Okaka (bonito flakes and soy sauce)
- Kombu (steeped kombu kelp)
- Tuna Mayo Spread (canned tuna with mayonnaise)
- Tarako (salted cod fish roe)
- Umeboshi (Pickled Plum)
- Sha-ke (salted Salmon)
- Yaki-shake( grilled salmon)
- Tori Gomoku, Chicken Gomoku (chicken and vegetables)
- Cream cheese and salmon flakes
Nutritional Value of Japanese Rice Balls (Onigiri)
| Nutrients | Percentage Daily Value |
| Total Carbohydrates | 44 grams |
| Protein | 6.7 grams |
| Total Fats | 0.9 grams |
| Cholesterol | 0.141 grams |
| Sodium | 0.404 grams |
| Potassium | 0.06 grams |
| Vitamin A | 0.9% |
| Vitamin B1 | 1.8% |
| Vitamin B2 | 2.6% |
| Vitamin B3 | 4.7% |
| Vitamin B5 | 1.9% |
| Vitamin B6 | 4.3% |
| Vitamin C | 0.3% |
| Iron | 1.2% |
| Zinc | 0.5% |
| Magnesium | 0.9% |
| Manganese | 0.8% |
| Phosphorus | 2.5% |
| Selenium | 6.3% |
| Folic acid | 0.8% |
*%daily values may vary according to your need and kind of ingredients used
FAQs:
What kind of rice should we use to make Japanese rice balls?
To make perfectly shaped onigiri, you should use short or medium grain rice. These rice stick well and make perfect spheres for Japanese rice balls. The popular and reliable brand for short grain rice is Koshishikari. The original onigiri recipe recommends the Koshihikari brand for onigiri rice.
What is the difference between an onigiri and a sushi roll?
Onigiri and sushi both recipes resemble a lot because they comprise steamed rice, fish fillings, and seaweed wraps. However, there is one big difference: The Japanese rice balls use only steamed rice that is slightly seasoned with kosher salt. Whereas, sushi rolls use vinegared rice to prolong the rice’s shelf life.
Why is salt rubbed on your hands while making Japanese rice balls?
Rubbing salt on hands while making onigiri is a practice of old Japanese. When onigiri was introduced, there were no refrigerators and people used things like salt and vinegar to prolong the shelf life of rice. They do this to preserve the steamed rice and to give them a perfect saltiness. Since then, onigiri uses salt while sushi rolls use vinegar as preservatives.
How to store Onigiri accurately?
Rice when refrigerated becomes dry, dehydrated, and hard. Therefore, it’s best to prepare onigiri fresh and consume it right away. Nevertheless, if you desire to eat the leftover Japanese rice balls the next day then, store them in the refrigerator. Make sure to pack the rice balls in a sheet of cling film or in an airtight container. In addition, you can cover onigiri packed in a tiffin with a damp kitchen towel.